MY 9.1: How to configure a Roster?
Follow
How to configure a Roster?
- On the left sidebar menu, click “Roster”.
- Click "Roster Lite".
- Click to filter by Department or Role or search for an employee by name.

- Click to select the location from the drop down list.
- Click to toggle between Week or Month calendar view.
- Click on the arrows to view the Roster for the previous or upcoming weeks, or click on the
 icon to select the week you wish to view.
- Click on the 'Action' button to select a action to perform on the Roster from the drop down list.

- Click to export the Roster to Excel.

- Click on any date to add a shift for an employee.

- Click on the
 icon to view a timestamp and log of who has made changes to this roster.
- Select if the Day Type selected is a Rest day or Off day.
- Select the Shift from the drop down list.
- Select the Location from the drop down list.
- Once done, click Save.

- To delete a shift, click on the shift.

- Click Delete to remove this shift from the roster.

- Click OK to confirm.

'Action' Button:
Assign Shift(s)
- Select a shift from the drop down list.
- Click on any date to assign the selected shift to.
- Once done, click Save.

Assign Off Day(s)
- Click on any date to assign Off Days to.
- Once done, click Save.

Assign Rest Day(s)
- Click on any date to assign Rest Days to.
- Once done, click Save.

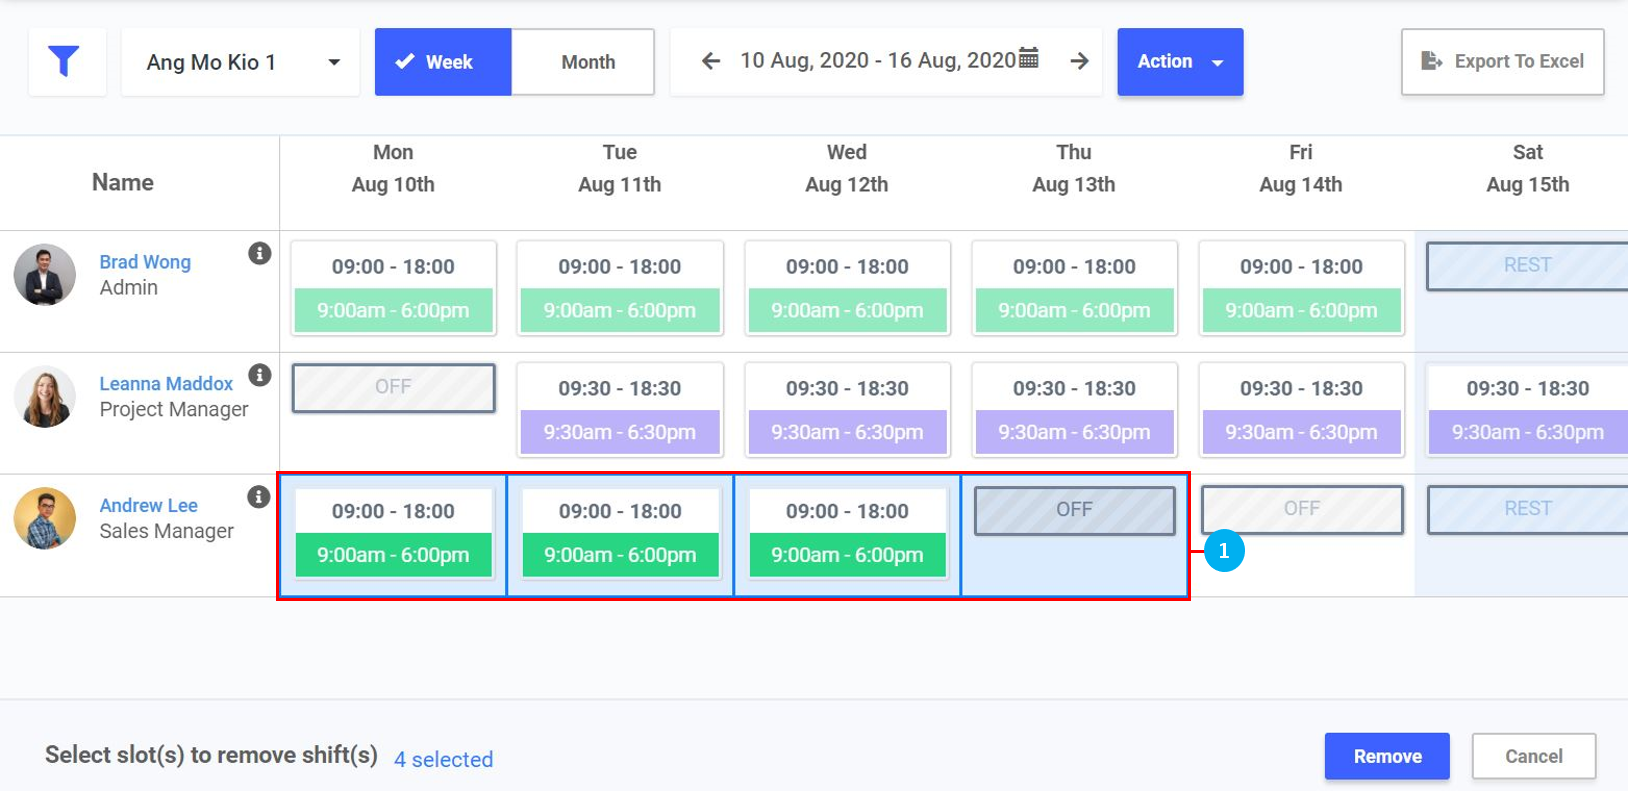
Remove roster schedule
- Click on any date to remove the scheduled shifts.
- Once done, click Save.
Copy roster schedule
- Select the week's schedule to copy from.
- Select the week to paste the copied scheduled to.
- Turn the toggle on to copy Off Day(s) as well.
- Turn the toggle on to copy Rest Day(s) as well.
- Turn the toggle on to overwrite any exisiting shift(s) with the copied schedule.
- Once done, click Save.

Bulk roster
- Select a shift from the drop down list.
- Select the start date for the Roster.
- Select the end date for the Roster.
- Select the Location from the drop down list.
- Once done, click Next Step to proceed to select which employees to apply the Roster to.

- Search for an employee by using the Search Bar.
- Filter between selected / non-selected employees.
- Select the Department from the drop down list.
- Select the Role from the drop down list.
- Select the Location from the drop down list.
- Click to select all employees.
- Click to select individual employees.
- Once done, click Apply.

- Choose to update empty / non-assigned schedule slots, or overwrite all existing roster schedules.
- Once done, click Confirm.

- Click Confirm to apply the bulk roster.
